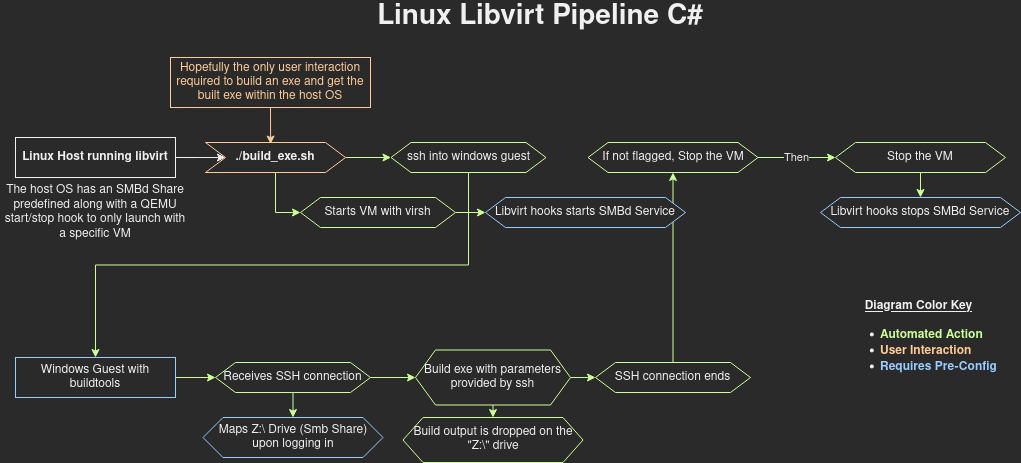
As a red teamer, I’ve needed to build various Windows executables that usually required me interacting with a Virtual Machine where I had to run Visual Studio or powershell to build the projects. If I was using VMware workstation or VirtualBox I could mount a local folder to store the files and what not but it was still pretty cumbersome. I created this little pipeline to speed that process up. It utilizes libvirt to run a VM headlessly and then the script interacts with it over ssh to build the csproj file passed to it.
Windows VM Setup
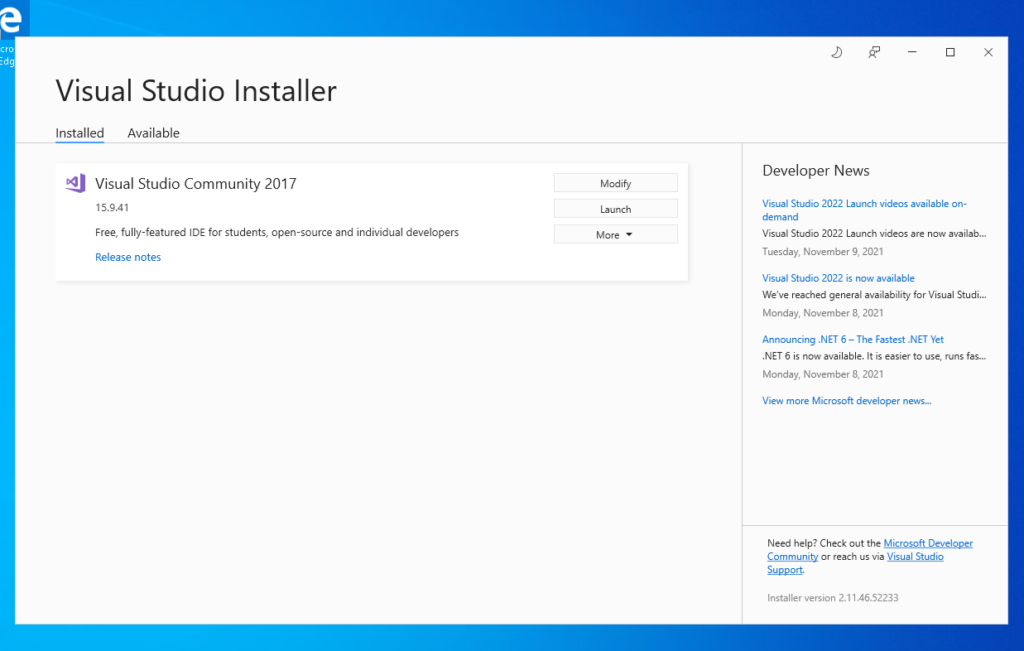
To get started, I first setup a basic windows 10 VM with virt-manager. I’m not really gonna cover this because that could be a topic of it’s own. This VM isn’t using a license and is really only used to install Visual Studio and it’s build tools. Any VS version can be used but I only typically need 2017 or 2019 at the moment. I also installed OpenSSH server (Installed with Windows Features) as well as VIM to allow easier SSH file editing rather than always using the gui.
Once OpenSSH was installed, I used ssh-keygen
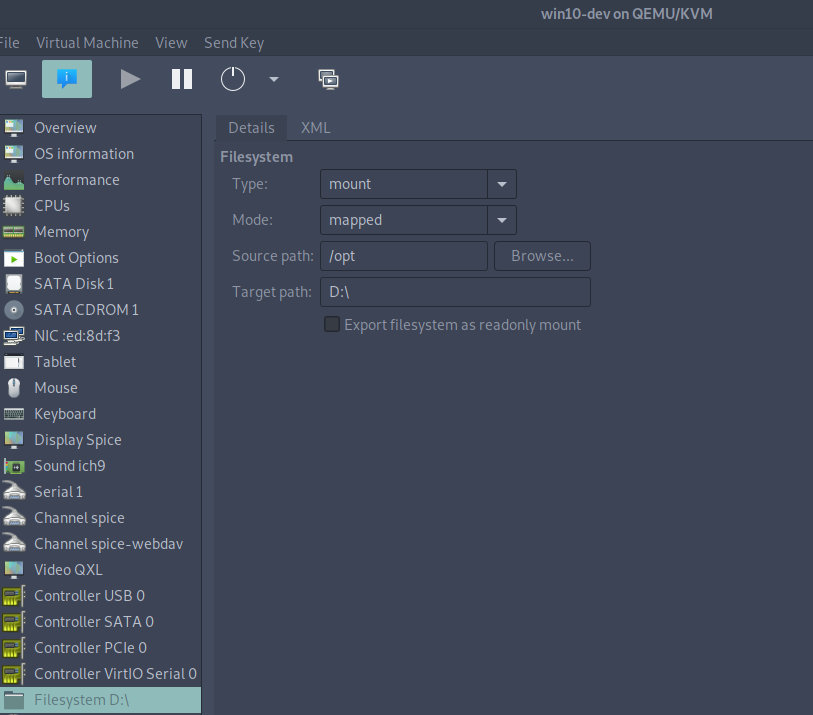
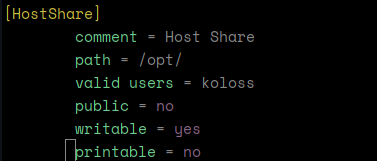
The method that ended up working but requires a few more moving parts is an SMB share. The windows use is pretty straight forward but this method also required me to add a little more in terms of automation as I didn’t want SMB running on my main host 24/7. In order to accomplish this I made the SMB share as specific as possible. I disabled home directory shares, guest login and also the printer shares. I created a single share to my /opt folder (my working directory for tools and what not). Once setup I am able to authenticate to the share as normal with a user name and password.
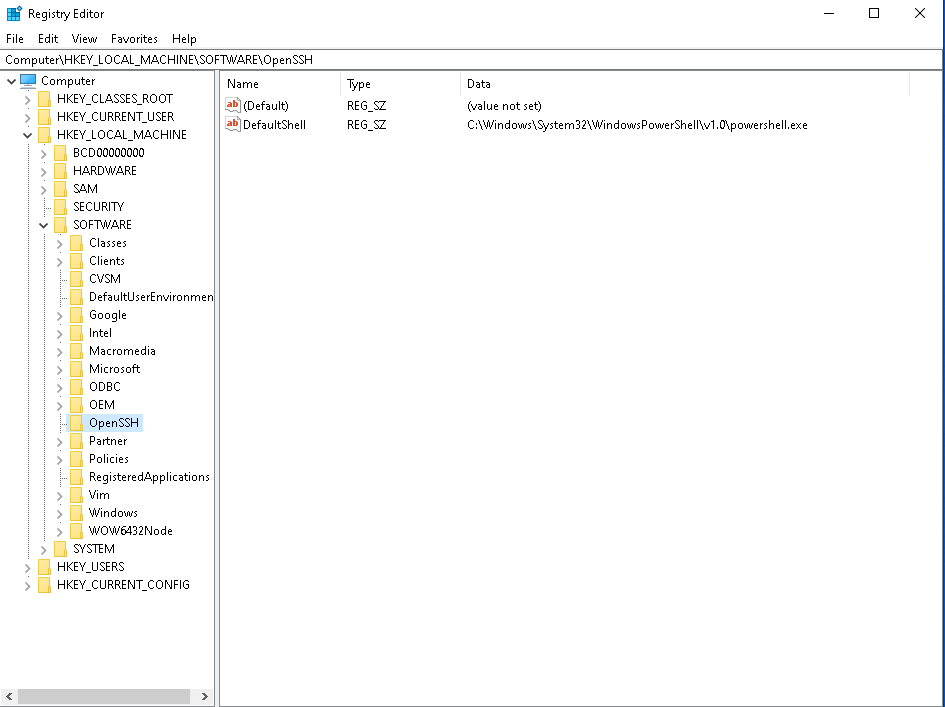
In order for this to be automated a little I wanted to put the net use into my powershell profile but one was not present. I was able to create a powershell profile with New-Item -type file -force $profile and there I was able to add the auto-mount line net use Z: \\192.158.122.1\HostShare /user:koloss <password_here>. The IP address here is the default gateway of the NAT between the Host and Guest, not my actual default gateway. I also had to use Set-ExecutionPolicy Unrestricted to allow the use of my profile as well as any other script I wanted to run later on – after all this is just a build host. In order for this to be effective I also had to change the DefaultShell registry key at /HKLM/SOFTWARE/OpenSSH/DefaultShell to C:\Windows\System32\WindowsPowerShell\v1.0\powershell.exe because the previous issue of SSH not being able to access network resources through the default OpenSSH client and because I now wanted to use my powershell profile to automount the share. To be sure I also added the EnableLinkedConnections policy with reg add "HKLM\SOFTWARE\Microsoft\Windows\CurrentVersion\Policies\System" /v "EnableLinkedConnections" /t REG_DWORD /d 0x00000001 /f.
When testing some of the Build Tools, I ran into issues with Windows Defender as well. I disabled Windows defender as well as Realtime protection using Group Policy to prevent it from happening again. After all I am using this to build red team tooling.
GPO to disable Defender: Administrative Templates > Windows Components > Windows Defender Antivirus > Turn off Windows Defender Antivirus = Enabled
GPO to disable Realtime Protection: Administrative Templates > Windows Components > Windows Defender Antivirus > Real-Time Protection > Turn off real-time protection = Enabled
At this point the windows VM is basically setup. This does not mean you have every build tool possible and will never need to access the host again, it just means we don’t have to login via gui all the time to build.
Libvirt Extra Setup
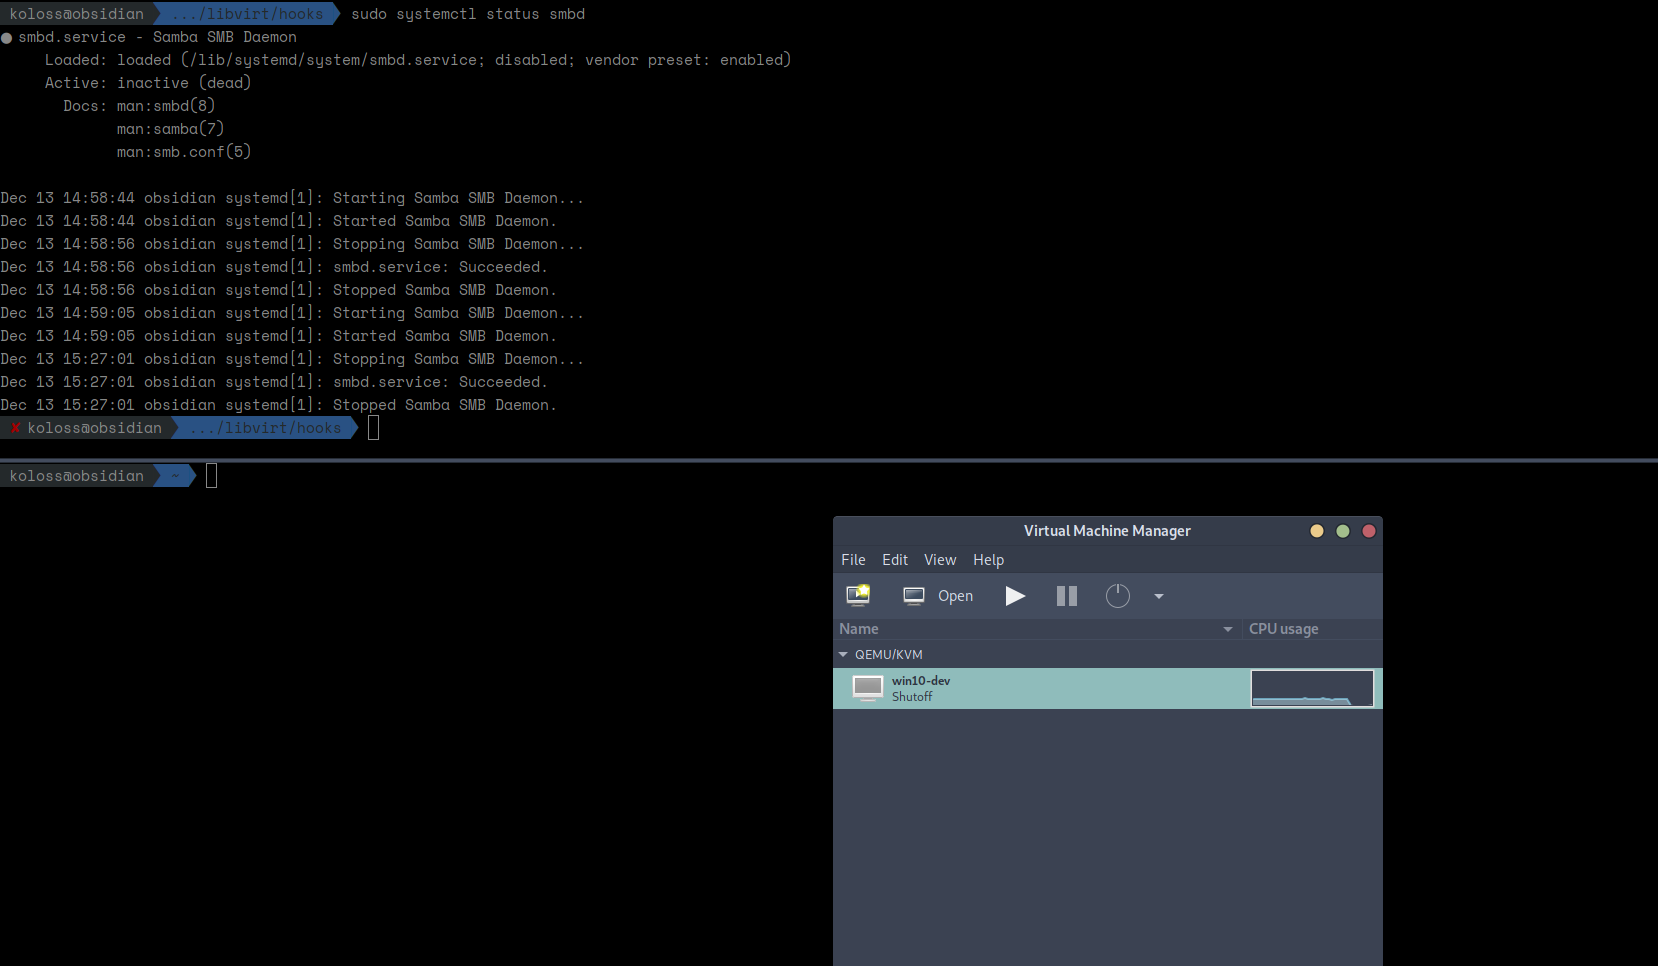
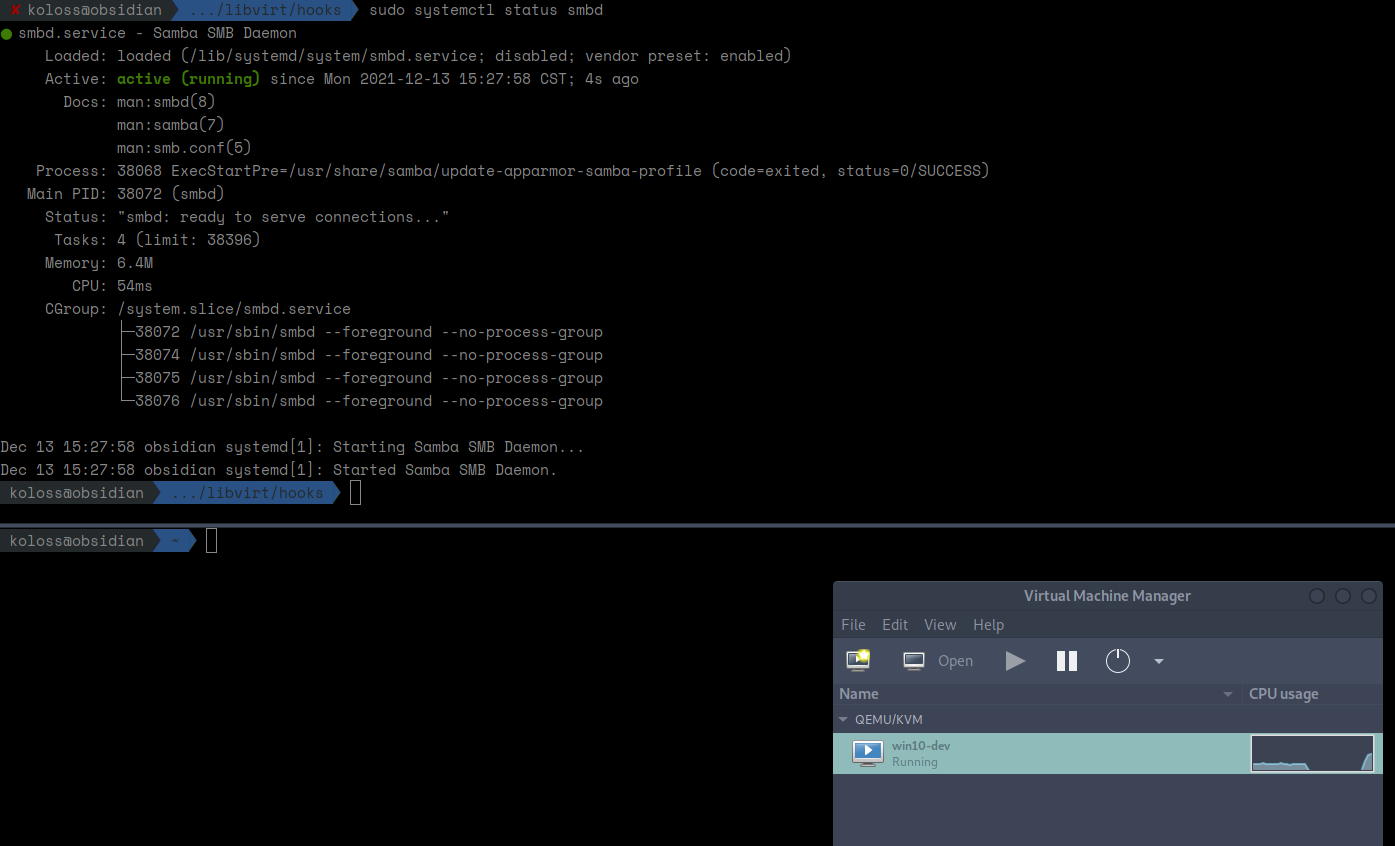
In order to address the SMB drive always running I wanted to automate this with libvirt hooks. Libvirt hooks allows me to specify things to do when actions are applied to a VM or a VM enters a specific state. In this case I used qemu hooks. When my guest “win10-dev” is in the “started” state, it runs systemctl start smbd. When it is in the “stopped” state it simply runs systemctl stop smbd.
#!/bin/bash

# Script for win10-dev
if [[ $1 == "win10-dev" ]]; then
  if [[ $2 == "started" ]]; then
    systemctl start smbd
  fi
  if [[ $2 == "stopped" ]]; then
    systemctl stop smbd
  fi
fi
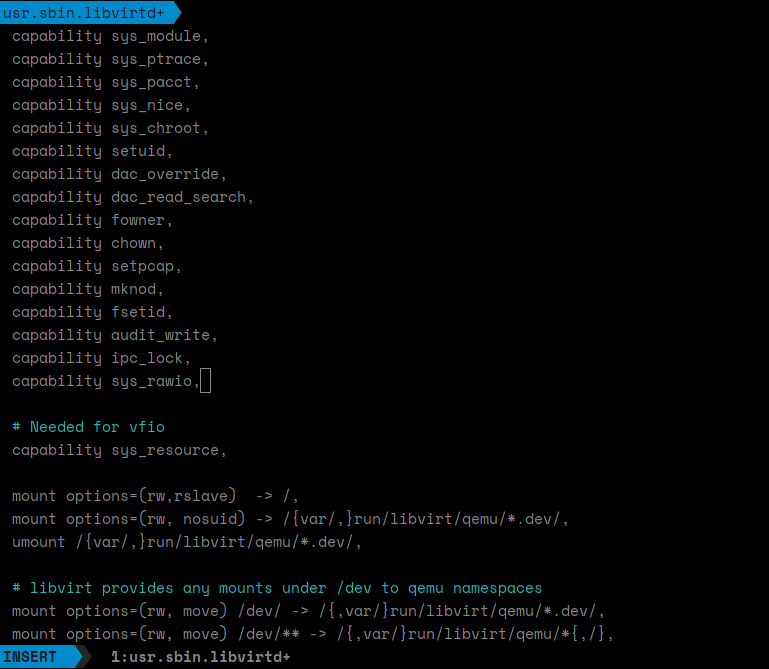
I also ran into some issues with AppArmor during all of this so I had to add capabilitiy sys_rawio to /etc/apparmor.d/usr.sbin.libvirtd so it could use systemctl. After that it was as simple as giving the libvirtd a restart and then testing whether or not starting and stopping a VM also started/stopped smbd.
Build Script
After setting everything above we have a windows VM that we can start and stop with virsh, ssh into without a password, and when starting and stopping the VM, it makes the SMB share accessible to the virtual machine.
One of the first things I did after getting to this step was to add the hostname to the vm into /etc/hosts file so I could address the hosts as “dev-machine” with ssh. I also created a simple ssh config to use the ssh key I created earlier. This allowed me to simply type ssh dev-machine to login to the VM over ssh.
At this point I had to write out the script. I wanted it to be as robust as I could make it, allowing one to compile for x86, x64 or even AnyCpu as well as specifying Release or Debug. I wanted to be able to refer to a csproj file in linux such as /opt/tools/windows/Farmer/Farmer/Farmer.csproj and it be translated to the windows equivalent of Z:\tools\windows\Farmer\Farmer\Farmer.csproj making this feel as seamless as possible.
The project can be found on my Github @ https://github.com/Koloss5421/LinuxLibvirtPipeline